When it comes to the Cricut Explore Air 2 machine setup, I find the process quite interesting. However, the setup procedures for this model are similar to those of other Cricut machines. Even a few days back, when my cousin visited me, she wanted to know everything about Cricut. From setup to creating a project, she was curious to learn everything. She even told me that she wanted to buy a machine for myself. Hence, I taught her a complete setup process for Cricut.
If you recently got a new Cricut Explore Air 2, you must follow me throughout this write-up. This guide will show you how to set it upon a computer or mobile device. Let’s get into this blog to learn more.
Cricut Explore Air 2 Machine Setup on a Computer
Let me show you how to setup Cricut Explore Air 2 on a computer. When I say computer, I mean both Mac and Windows. Many crafters might be using either Mac or Windows. However, I am not going to explain the Cricut machine setup separately for both devices.
It is because the process is exactly the same. So, what’s the point of talking about them individually? Let’s delve into it and setup your machine on a computer (Mac or Windows). Below, there are two steps given to setup your Cricut cutting machine:
Step 1: Unbox Your Cricut Machine and Download the Design Space App
- If you have a new machine, unbox it and take all the items out of the box.

- Carefully take your Cricut machine out of the box and place it on the flat surface.
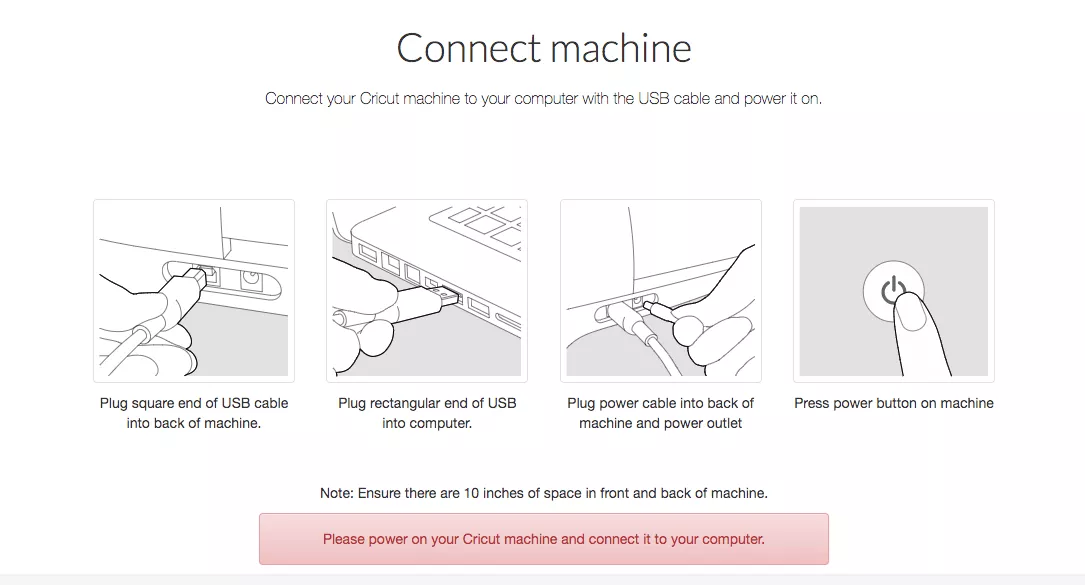
- Then, you need to use your power cord (Which comes with your Cricut machine).
- After that, plug it into your power source.
- Open any browser you are using, such as Chrome, Firefox, or others. I am using Chrome in this example.
- On the browser, you have to visit a site called cricut.com/setup.
- As you enter the website, you will need to choose either from Cutting Machine or Heat Press.

- Here, you have to choose Cutting Machine.
- On the next screen, you will have to click on a checkbox to enable the Download now tab.
- Your Download now tab is activated. Click on it to download the Cricut Design Space app.
- After downloading, you need to install it on your computer. Installation may vary for Mac or Windows computers.
Step 2: Perform the Cricut Explore Air 2 Machine Setup
- Now, press the power button on the Cricut machine. You will hear a sound.
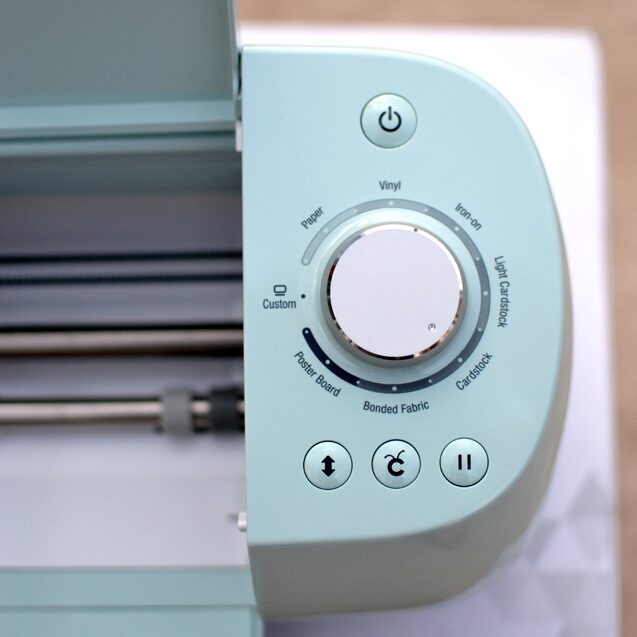
- Then, go back to your computer and open the Cricut Design app.
- On the application, you will have two options: Product Setup or Sign In.
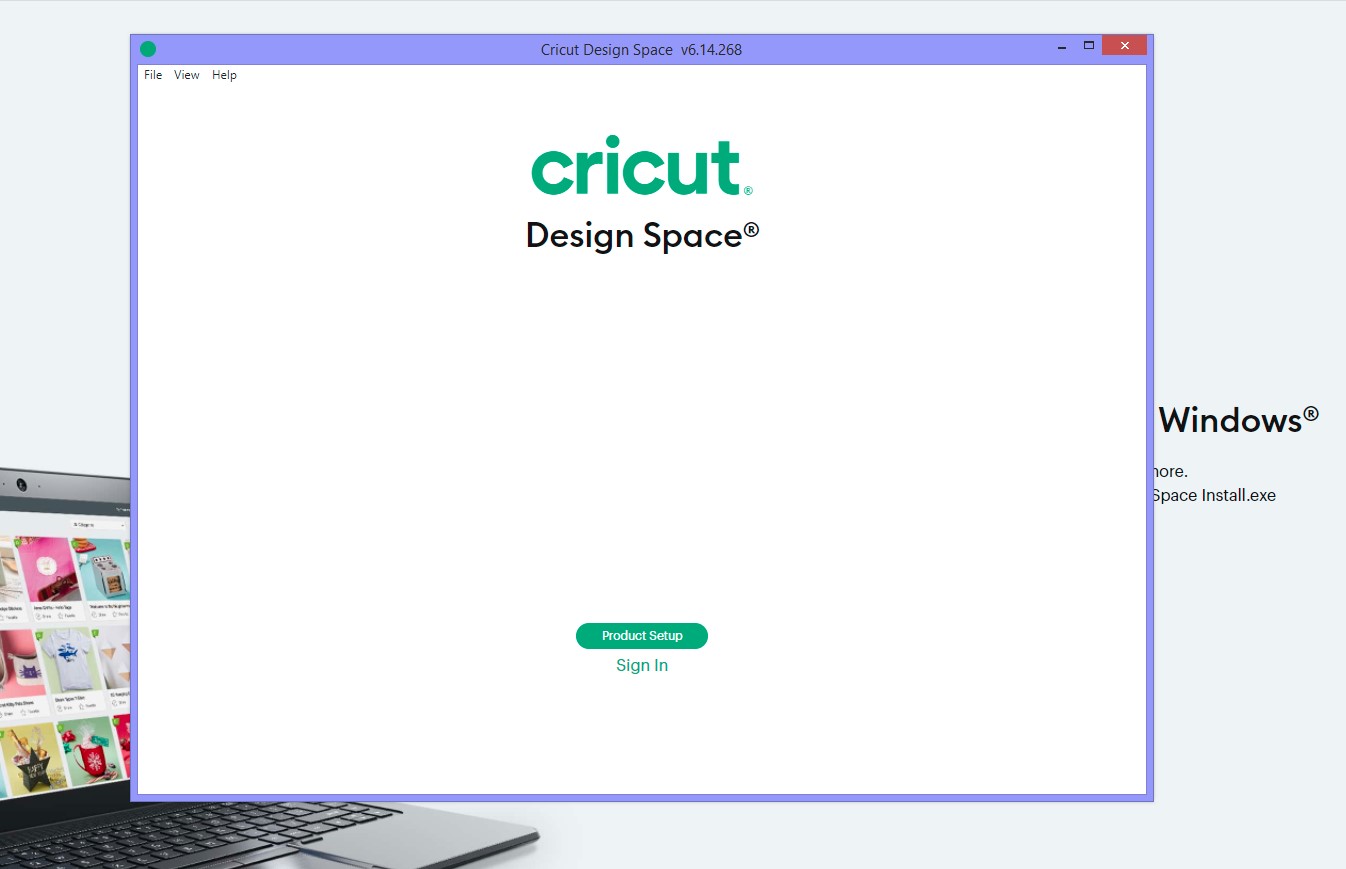
- Here, I recommend you select the Product Setup option.
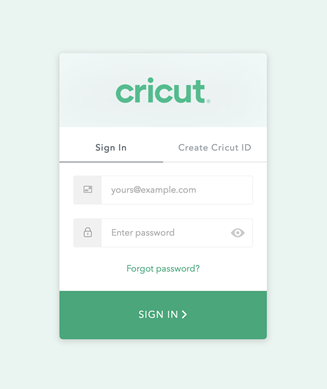
- Further, create your Cricut account or sign in to your account if you already have one.
- After that, you might be asked to select a Smart Cutting Machine or Heat Press.
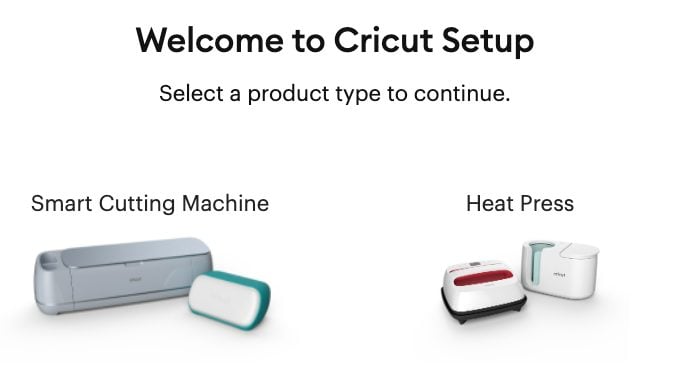
- Select Smart Cutting Machine, then select Cricut Explore Family.

- Follow the presented prompts on the screen to finish the Cricut Explore Air 2 setup.
Cricut Explore Air 2 Machine Setup on Your Mobile Device
If you do not have a computer, then CHILLAX! You can also set it up on your mobile device. The setup process for both devices is the same, whether you are an Android or iOS user. Let’s get into it without any further delay.
Here are the steps to setup the Cricut machine on a mobile device:
- Switch on your Cricut Explore machine by plugging its power cord into a power source.
- After that, go to your mobile device and find the Bluetooth option.
- If your Bluetooth is not enabled, you have to enable it.
- And then, let your device search your Cricut machine.
- Once you see that your machine has detected your Cricut machine, you have to click on it from the given list.
- Pair your device with Cricut, and then navigate to your App Store or Play Store.
- On this app, you have to search for Cricut Design Space on the search bar.
- In the search result, the Cricut software will appear. You need to install it.
- After that, you have to click on the Menu and select Machine Setup.
- Next, choose your model and proceed as per the screen prompts.
That’s all in this Cricut Explore Air 2 machine setup. Start setting up your Explore family and create amazing crafts in no time.
FAQs
Question 1: Is a computer compulsory to setup my Cricut Explore Air 2?
Answer: No, the computer does not need to setup your Explore Air 2 machine or any other model. All you need is a compatible mobile device, such as Android or iOS, that meets the minimum system requirements. That’s what you will need only while setting up your Cricut.
Question 2: Which software do I need to setup my Cricut Explore Air 2?
Answer: Well, you will need the Cricut Design Space software to setup your Cricut machines. This is common to all types of Cricut models. Be it Cricut Maker or Joy series, you will first have to download the Design Space from Cricut’s official website, and then you can setup your setup.
Question 3: How to connect Cricut machine to Windows?
Answer: Below are the steps to connect your Cricut to Windows:
- First, select the Start button from the taskbar and select the Settings icon.
- Move to the Devices tab and then turn on your Bluetooth.
- After that, let your Windows computer find your Cricut machine.
- Once it finds your Cricut machine, you have to select it to form a connection.
- You might be asked to enter four digits of PIN: 0000 and then select the Connect tab.